 Milesheet
Switching mileage apps without losing the tax year
How to get your history out of another app, what to check in the export, and how to bring it into Milesheet so the 10,000-mile banding still works.

Changing mileage apps mid-tax-year sounds like the sort of thing that loses you money. It does not have to, as long as the history comes with you.
Why the history matters
The 55p rate only applies to your first 10,000 business miles in a tax year. If your new app starts counting from zero in September, every mile it records is priced at 55p, including the ones that should have dropped to 25p because of driving you did in May. Your claim ends up wrong in the direction HMRC cares about.
Bring the old trips across and the banding is calculated over the whole year, as it should be.
Getting the data out
Most mileage apps can export a CSV, usually somewhere in settings under export, reports or backup. What you want is one row per journey with, at minimum, a date and a distance. Anything else is a bonus:
- Start and end location
- Start time
- Business or personal
- Notes or purpose
If your old app can only email you a PDF report, you can still type the trips in by hand. Tedious, but a one-off.
Check three things before importing
Units. Is the distance column miles or kilometres? Getting this wrong inflates or shrinks a whole year of claims.
Date format. UK exports are usually dd/mm/yyyy, but apps built elsewhere often use mm/dd/yyyy. If the first twelve rows look plausible and the rest look mad, this is why.
What "category" means. Some apps export Business/Personal, others use custom categories like "Client visit" or "Commute". You will want to know which is which before you map the column.
Bringing it into Milesheet
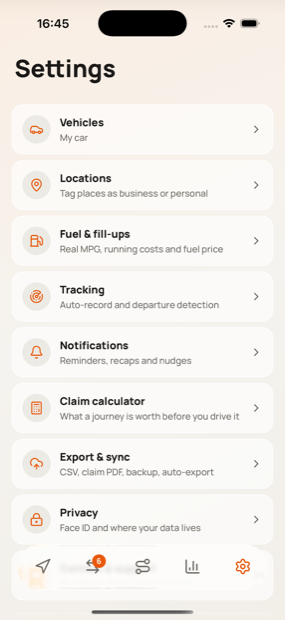
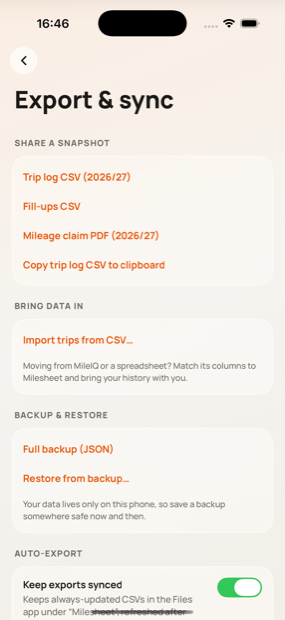
Settings, then Export & backup, then Import trips from CSV. The wizard is three steps:
- Pick the file. Milesheet reads the header row and works out which column is which, including the common naming from other apps.
- Check the mapping. Every field is a dropdown. Point Date and Distance at the right columns, set miles or kilometres, choose what unlabelled rows should become, and pick which vehicle they belong to.
- Preview and import. You see how many trips parsed cleanly and how many rows could not be read, then confirm.
Anything that duplicates a trip already in Milesheet is skipped, so importing the same file twice is harmless. Rows with an unreadable date or distance are reported rather than silently dropped.
After the import
Two things worth doing:
- Open Insights and check the tax-year total looks like your year. If it is wildly out, the units or the date format were probably wrong; delete the imported trips and try again.
- Tag your regular places in Locations. Once the office and your usual sites are tagged, Milesheet sorts most future trips for you.
Then carry on driving. From that point, the log keeps itself.
What to check in the export
| Check | Why it matters | If it is wrong |
|---|---|---|
| Units, miles or kilometres | A km export read as miles is 38% short | Every claim figure understates |
| Date format | US vs UK ordering silently swaps days and months | Trips land in the wrong month, banding breaks |
| Classification column | Some apps export it, some do not | Everything arrives unclassified |
| Running order | Banding depends on date order | Rate bands apply to the wrong trips |
| Duplicates | Re-importing doubles mileage | The claim is overstated |
The import, step by step
| Step | Where |
|---|---|
| Export CSV from the old app | Its own settings |
| Settings → Export & sync → Import trips from CSV | Milesheet |
| Map the columns (date and distance are required) | Import wizard |
| Choose the unit, miles or kilometres | Import wizard |
| Review the preview before committing | Import wizard |
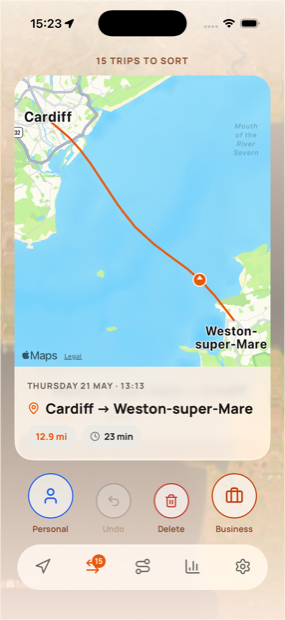
| Sort anything that arrived unclassified | Classify tab |
| Tag your regular places | Settings → Locations |
Duplicates of trips already in the app are skipped, so a second import after a failed one does not double anything.